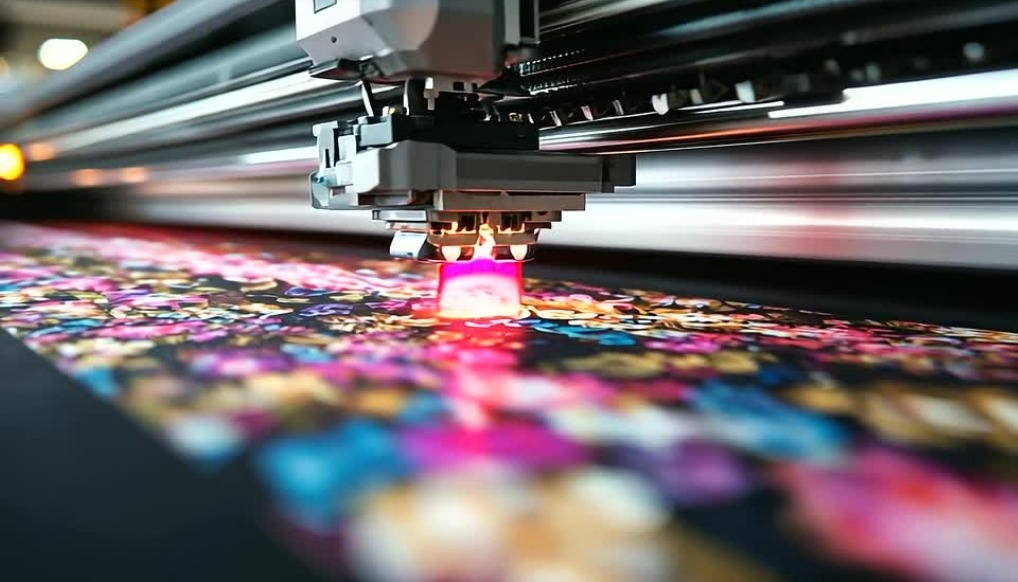
Cleaning industrial fabric printing nozzles is a high-stakes game. If your nozzles clog, the whole operation halts. This guide walks print technicians, operators, and managers through the exact steps on how to clean industrial fabric printing nozzles—safely, effectively, and professionally.
1. Why Clean Fabric Printing Nozzles?
Fabric printers are powerful machines. But their weakest link? The nozzles. These tiny components are responsible for pushing out micro-drops of ink. When clogged, you get color fading, banding, and misalignment.
In a study by Texintel, 68% of production downtime in textile digital printing is caused by clogged nozzles. That’s not a small problem. It’s a revenue killer. Printheads used in industrial textile systems—especially those using reactive or pigment inks—are highly vulnerable. These inks dry faster, leading to head crusting if left idle or uncleaned.
If you’re using brands like Epson Monna Lisa or Mimaki TX300P, a single clog can affect entire runs. That’s hundreds of yards of wasted fabric and inks. Cleaning industrial fabric printing nozzles isn’t about damage control. It’s a preventative routine that safeguards color accuracy, ink flow, and head longevity.
2. Cleaning industrial fabric printing nozzles Frequency & Scheduling
There’s no one-size-fits-all here. Frequency depends on ink type, usage, and ambient conditions.

Here’s a rule of thumb:
| Usage Volume | Cleaning Type | Frequency |
|---|---|---|
| 24/7 Production | Auto Light Clean | Daily (AM start) |
| Mid-scale Shops | Manual Flush + Auto | 2x Weekly |
| Idle Over 2 Days | Deep Clean + Cap Seal | Before & After |
Reactive dyes? Clean daily. Pigment inks? Clean every shift. In dry climates like Australia or Nevada? Boost cleaning cycle frequency. Air humidity below 40% accelerates ink crusting. Automated cleaning is helpful, but not perfect. Manual oversight is key of Cleaning industrial fabric printing nozzles.
Also, if you’re using roll-to-roll textile printers in high-speed production lines, consider integrating a scheduled reminder in the machine’s PLC (Programmable Logic Controller) to flag when head cleaning is due. It’s a small detail that saves hours of reprints.
3. Step-by-Step Cleaning Methods for Industrial Fabric Printing Nozzles
3.1 Manual Flush & Wipe
Turn off the printer and access the print head manually. Use lint-free swabs dipped in OEM-approved cleaning fluid. Gently wipe the nozzle plate in one direction never scrub. Use a flush syringe for deeper cleaning. Insert at low pressure (under 50 psi). Forceful injections can delaminate nozzles.
Pro Tip: Always perform a nozzle check after cleaning. If gaps remain, repeat the flush. Don’t guess—verify.
3.2 Automatic Light & Deep Cycles
Light cleaning uses small ink bursts to clear partial clogs. Run at start of shift or after overnight pauses. Deep clean cycles remove stubborn ink buildup but consume 2–5 times more ink. Only use weekly or before long storage. To reduce ink waste during deep cycles, pre-flush the printhead with maintenance fluid. This minimizes ink dilution and allows the deep cycle to focus on removing stubborn dried particles.
3.3 Capping Station & Wiper Blade Care
Neglecting these components leads to recontamination. Clean the capping station weekly. Remove residual ink and ensure the cap seals properly. Replace wiper blades monthly, especially if visibly deformed. A damaged blade scratches the head surface irreversible.
Wipers also degrade based on the type of ink used. Pigment-based inks wear blades faster due to their heavier particle load. Keep spare blades available and log replacement dates.
3.4 Inline Cleaning System Settings
For machines with advanced software, set cleaning cycles based on output. Many industrial fabric printers let you define print length intervals before self-cleaning triggers.
Use data logs to detect patterns: for example, if clogs occur every 4 hours of production, reduce interval to 3 hours. Smart scheduling saves ink and downtime.
Printers equipped with nozzle detection sensors can self-trigger a cleaning sequence upon detecting a misfire. Calibrate these sensors regularly to maintain precision.

4. Choosing Tools & Fluids for Cleaning Industrial Fabric Printing Nozzles
What’s in your toolkit matters.
Must-Have Tools:
- Lint-free swabs (foam-tipped preferred)
- Flush syringes (low-pressure)
- Isolated cleaning station with exhaust
- Nitrile gloves and safety goggles
Cleaning Fluids:
| Ink Type | Recommended Fluid | Brands |
| Pigment | Water-based flush | Epson SC, Nazdar |
| Reactive | Ammonia-buffered flush | Mimaki, D.Gen, Roland |
| Disperse | Low-VOC solvent blends | Sensient, Huntsman |
Avoid alcohol unless the OEM states it’s safe. Some heads, like Kyocera or Ricoh, are sensitive to isopropanol.
OEM vs 3rd-party? OEM ensures warranty compliance. But some certified third-party kits (e.g., STS Inks) offer equal performance at lower costs.
Keep all fluids labeled with expiry dates. Fluids older than 6 months can lose effectiveness or separate chemically, especially in high-heat climates.
5. Advanced & Emergency Troubleshooting for Nozzle Cleaning industrial fabric printing nozzles
When standard cleaning industrial fabric printing nozzles doesn’t work, a trained technician may escalate to these methods. Warning: These carry a higher risk of damaging the print head.
The Head Soak Method: A Last Resort That Works:
When standard clean cycles just don’t cut it, it’s time to bring out the big guns—the head soak method. This approach targets deep, hardened clogs that sit inside the nozzle body, especially after long idle periods or when reactive inks have been left to dry.
Here’s how to do it right:
- Turn off the printer completely—safety first.
- Apply cleaning fluid directly onto the foam pad inside the capping station. Make sure it’s well-saturated but not overflowing.
- Gently park the print head so it rests snugly on the soaked pad.
- Let it sit for 8 to 12 hours. Overnight works great. The fluid will slowly break down dried ink deposits from within.
- Power back on and run a light cleaning cycle to flush loosened debris from the nozzles.
When should you use this method?
- When nozzle checks show missing rows that don’t recover after standard cleaning
- If ink is spraying unevenly or in unpredictable patterns
- When reactive or pigment inks have been left idle for too long
This Cleaning industrial fabric printing nozzles method takes time, but when done right, it can bring a print head back from the brink. Consider it your last chance before replacement.
Ultrasonic Cleaning:
Operational Procedure and Parameters When applied, the printhead is gently submerged in an ultrasonic bath containing either pure water or a specialized printhead cleaning solution for cleaning industrial fabric printing nozzles. The duration and frequency of ultrasonic exposure are crucial. One source suggests a prolonged cleaning cycle of 10 to 15 hours for rapid cleaning.
However, another source strongly contraindicates such extended exposure, recommending a maximum duration of less than 3 minutes at a frequency of 40 kHz, warning that “overexposure damages internal membranes”4. This discrepancy highlights the importance of consulting specific equipment guidelines. For heated ultrasonic baths, which some maintenance teams utilize, it is imperative to maintain the temperature below 40°C to prevent the printhead nozzles from warping or deforming.
Knowing When It’s Too Late — And Acting Before Then
Some signs of cleaning industrial fabric printing nozzles are impossible to ignore.
If you see visible nozzle delamination, experience electrical misfires, or notice that more than 30% of the nozzles are permanently gone, it’s time to stop hoping and start replacing.
Don’t wait for total failure. A clogged head can usually be revived. But a burned-out or damaged one? That’s game over—and it’s far more expensive even for cleaning industrial fabric printing nozzles.
Smarter Monitoring with Camera-Based Nozzle Checks
Thankfully, modern printers give you an edge. Many newer direct-to-fabric models now come equipped with built-in optical camera diagnostics. These tools scan your nozzles in real-time and detect misfires or performance dips before they show up in your prints.
Make it a habit to run these diagnostics weekly. Even better? Save the logs. Over time, you’ll start to see patterns—like a specific channel clogging more often than others.
When you connect these insights to your maintenance schedule, you move from reactive cleaning to predictive care—and that’s where real uptime lives.
Stay one step ahead of problems. Let the data guide your maintenance, not just the mistakes..
6. Preventive Maintenance & Operator Training
he truth is simple: even the best machine is only as good as the hands operating it. And when it comes to nozzle care, your operators are your first and last line of defense.
Start by building a clear, no-guesswork Standard Operating Procedure (SOP) that every shift can follow without fail. At minimum, your SOP should include:
- Clean the print heads at the end of each shift
- Log every nozzle check result—pass or fail
- Replace wiper blades every 30 days, like clockwork
- Inspect and clean ink filters twice a month
Don’t let this live in a binder no one opens. Post a laminated checklist at every print station. Add a QR code that links to short training videos or internal SOP demos, especially helpful for new hires or shift fill-ins to learn about Cleaning industrial fabric printing nozzles.
Next, train your team on safe handling techniques.
No tissues. No bare fingers on the nozzle plate. Always wear nitrile gloves and safety goggles. It only takes one careless wipe to damage a $2,000 print head.
And finally, take care of the print room environment. Keep humidity between 45%–60% using an industrial-grade humidifier. Why? Because dry air dries ink—on your fabric and inside your nozzles. A well-balanced environment keeps everything flowing.
Preventive care is not a cost of cleaning industrial fabric printing nozzles. It’s an investment in uptime, quality, and long-term savings. Empower your team, and your machines will thank you. Ink needs moisture—just like your nozzles.
Internal Maintenance Log Template for cleaning industrial fabric printing nozzles
| Date | Operator | Nozzle Check | Capping Cleaned | Blade Replaced |
| Pass/Fail | Yes/No | Yes/No |
Use this form weekly to ensure accountability.
7. Regional Best Practices & Compliance
No matter where you run your textile operation, nozzle cleaning comes with its own set of safety standards—and they’re not just paperwork. Following them protects your people, your machines, and your business from costly mistakes.
- 🇺🇸 USA & 🇨🇦 Canada
In North America, compliance starts with OSHA Standard 1910.1200. All chemical cleaning agents must be properly labeled, and every operator should have easy access to Material Safety Data Sheets (MSDS). Don’t just file them away—post them where they’re needed. One wrong squirt from an unlabeled bottle can mean downtime, or worse, a health risk.
- 🇪🇺 Europe
If you’re operating in the EU, REACH compliance isn’t optional—it’s legally enforced. Only use cleaning fluids that meet these environmental safety standards. Additionally, make sure all machinery involved in cleaning and maintenance carries CE certification to prove it meets EU regulations for health and environmental protection.
- 🇦🇺 Australia
Australia’s climate demands special attention. Dry air and airborne dust can wreak havoc on nozzle health. Keep a close eye on humidity levels, especially in inland or high-heat zones. Aim to stay between 45%–60%. Invest in air purifiers to reduce particulate buildup and regularly inspect ventilation systems.
And don’t overlook the basics: Personal Protective Equipment (PPE) should be used correctly, every time. Conduct regular audits—don’t assume compliance. Print out your regional safety guidelines and post them in plain sight near every printer station.
Make safety visible, actionable, and part of your daily routine. When your team knows the rules and sees them in practice, compliance becomes culture—not just a checklist.
8. Frequently Asked Questions About Cleaning Industrial Fabric Printing Nozzles
Q: Should I flush heads before storage by Cleaning industrial fabric printing nozzles? Absolutely. Just like you wouldn’t park a car with the engine running, never leave your printer heads uncleaned before downtime. Flush them thoroughly with the correct cleaning solution, cap them tightly, and keep the printer in a humidity-controlled space. That’s the trifecta that saves your nozzles from crusting.
Q: Can I use isopropyl alcohol to clean heads? No, it is sensitive and high risky to apply this alcohol without knowing of properties. In most cases, no. Isopropyl alcohol might sound like a quick fix, but it can damage sensitive membranes in many modern print heads—especially those using reactive or disperse inks. Only use alcohol if your OEM specifically says it’s okay. When in doubt, go with an approved, water-based cleaning fluid.
Q: How do I know if cleaning worked? Run a nozzle pattern test. A clean nozzle should fire sharp, consistent lines across the board. If you see skips or faint marks, the clog isn’t fully cleared. In that case, repeat the flush—or try a gentle head soak overnight.
Q: What’s the best cleaning schedule? There’s no one-size-fits-all, daily light clean, weekly manual wipe, monthly deep clean. but here’s a smart baseline:
- Deep clean once a month if Running 24/7? You’ll need to adjust for heavier use or dryer environments. Reactive and pigment inks also demand more frequent care.
- Light clean cycle every morning
- Manual swab midweek
Q: What’s the safest cleaning fluid for pigment ink? Generally, a water-based, pH-neutral flushing solution is recommended for pigment inks. However, you should always verify with your specific printer’s OEM recommendations.
Q: How to prevent nozzle drying during idle periods? Three things: Clean the capping station. Keep humidity between 45–60%. And run automatic light clean cycles at regular intervals. Idle heads dry fast, especially in air-conditioned or dusty rooms. Prevention is everything to help us perform a good Cleaning industrial fabric printing nozzles.
Q: Is it possible to check nozzle performance without printing test patterns?
Yes! Many modern direct-to-fabric printers include built-in camera systems or nozzle detection sensors. These scan spray patterns without wasting ink or fabric. It’s like doing an eye exam without printing a chart.
Q: How often should nozzle sensors be recalibrated by Cleaning industrial fabric printing nozzles?
Every 4–6 weeks is ideal. Also, recalibrate any time you change a print head or update your machine’s firmware. Accurate sensors catch problems early—and help you avoid ghost clogs that lead to expensive downtime.
9. Quick Reference Table for Cleaning industrial fabric printing nozzles
| Issue | Solution | Action Level |
| Banding | Manual wipe + nozzle test | Low |
| No ink output | Head soak or deep clean | Medium |
| Streaking | Wiper blade + flush | Medium |
| Random spray | Replace head | High |
| Frequent misfires | Sensor recalibration | Medium |
10. Conclusion
Cleaning industrial fabric printing nozzles isn’t just a task—it’s a frontline defense for your production line. These tiny nozzles do heavy lifting every hour, and even the smallest clog can bring everything to a halt. But when you care for them properly? They give back in big ways: smoother color gradients, fewer print failures, and machines that just keep running.
Don’t wait for downtime to remind you how important maintenance is. Start applying these five pro-level cleaning strategies today and stay ahead of breakdowns, misfires, and expensive head replacements.
Want a step-by-step process you can rely on?
Grab our full nozzle maintenance SOP or bookmark this article so your team always has it on hand in the print room to prepare for Cleaning industrial fabric printing nozzles.